

Stitched Photo Quiltlets
Stitched Photo Quiltlets
Stitched Photo Quiltlets
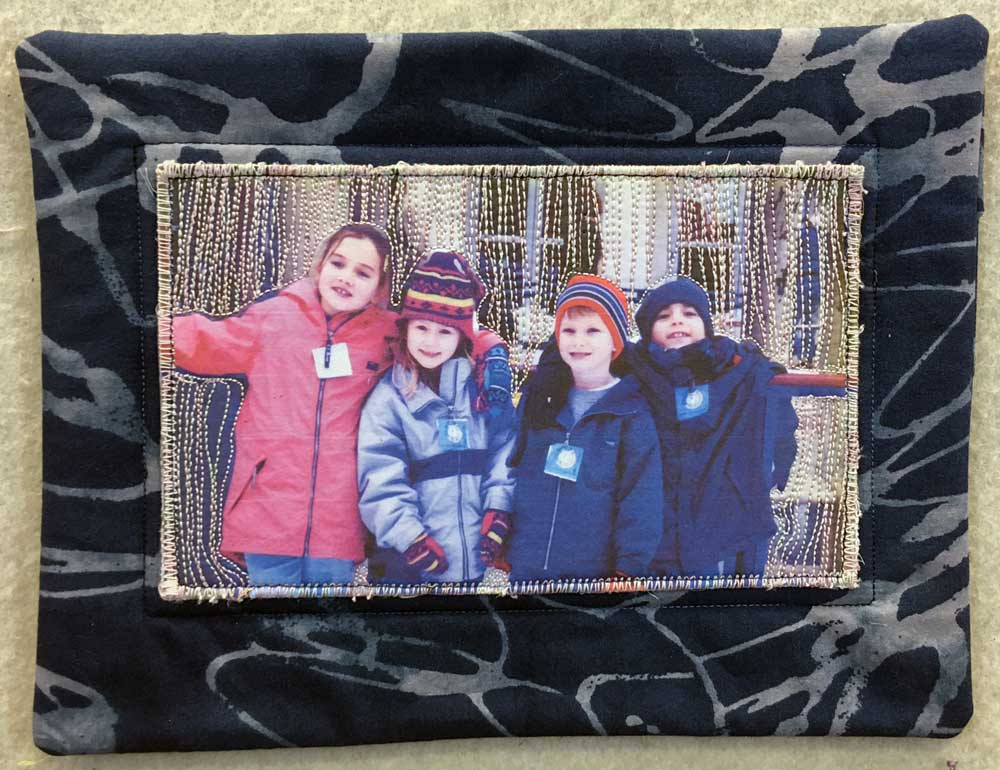
A number of years ago I took a photo of my son Kyle with his cousins Megan, Carleigh and Reid (my brother Scott’s children) during an ice skating outing, and it has always been a favorite of mine... and I always intended to use it in my art and share it with each of them. Now that they are all young adults, this past holiday season was finally the year!
My first step was to print the photograph out on EQ Printables Premium Cotton Lawn Inkjet Fabric. I fit two images per sheet. I then used Mistyfuse, my favorite fusible (so sheer and lightweight) to fuse the images to Pellon Heavyweight Stabilizer.
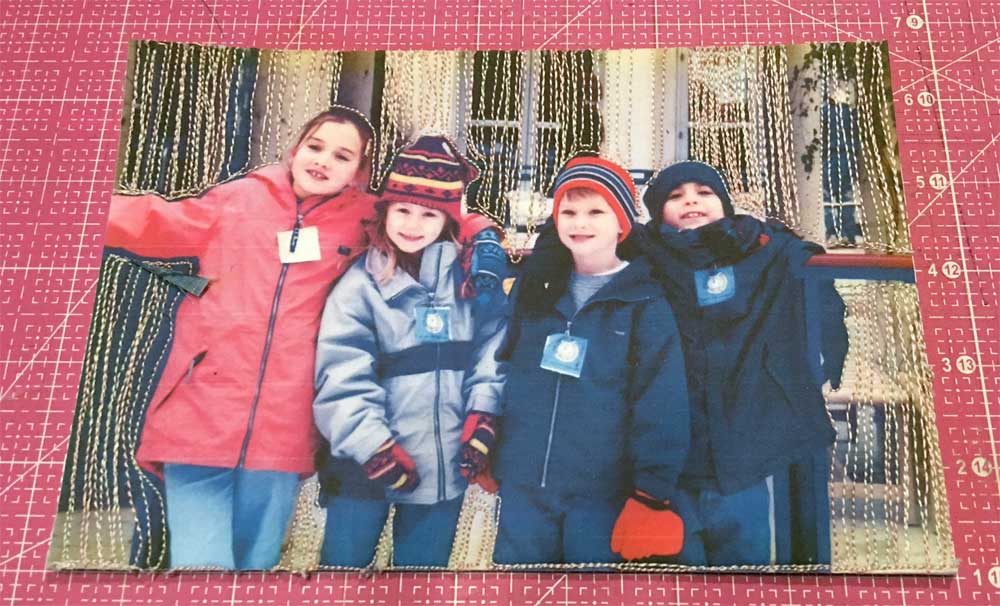
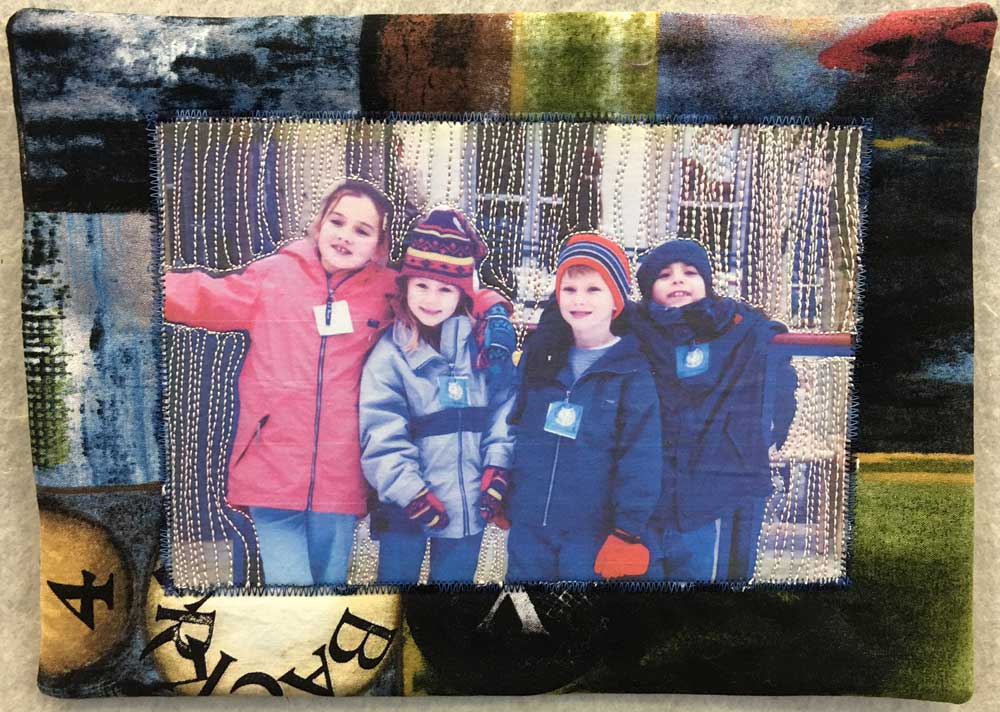
Since I wanted the kids to be the focal point, I decided to stitch the background out using Fruitti™ by WonderFil, a 12 weight cotton thread. First, I stitched an outline of the group, and then I went back in and added freeform vertical lines to eliminate the distraction of the photo’s background. The thickness of the thread gave me the look I wanted, and I choose one of the more subtle of the variegated colors available to add additional interest without pulling attention away from these adorable kids.
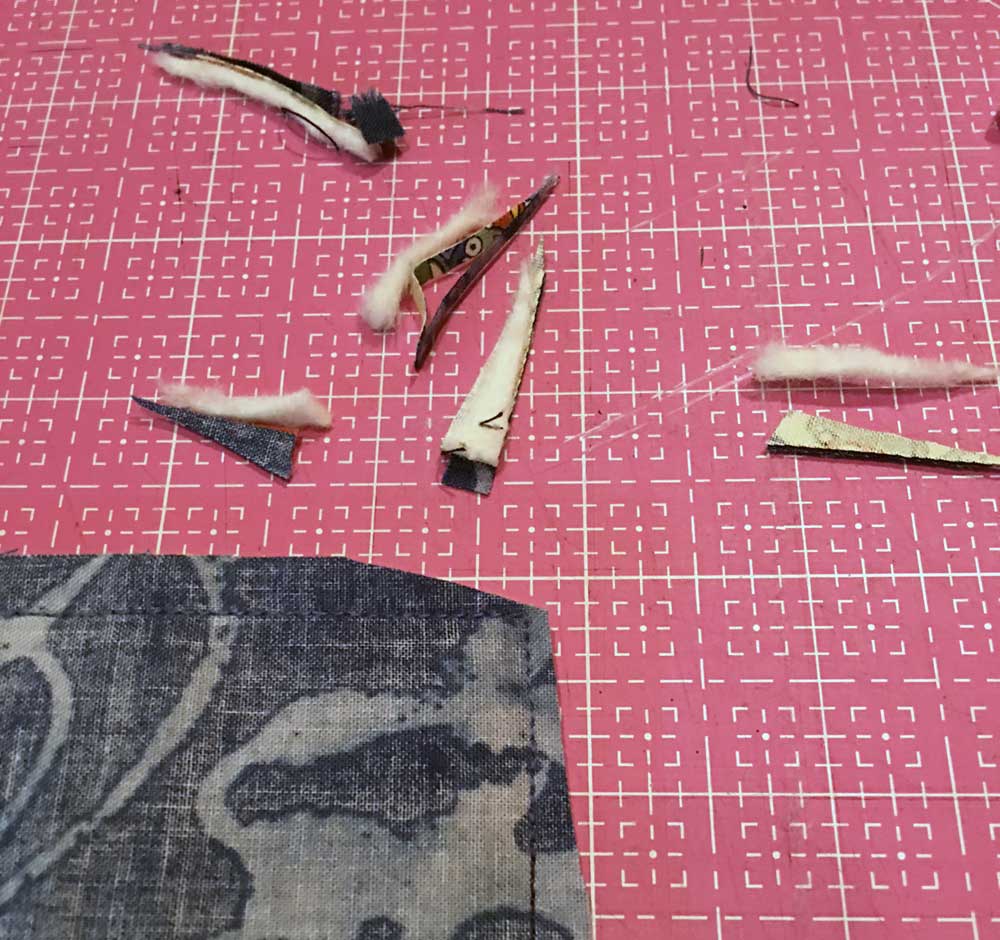
I created a small quilt to stitch my photos to, using the Pillowcase Turn method. You can download a free instructional PDF on this technique from Susan Brubaker Knapp’s website... she writes it’s “the fastest and easiest technique for finishing an art quilt.” Above, trimming the corners to lessen the bulk once the ‘pillowcase’ is turned.
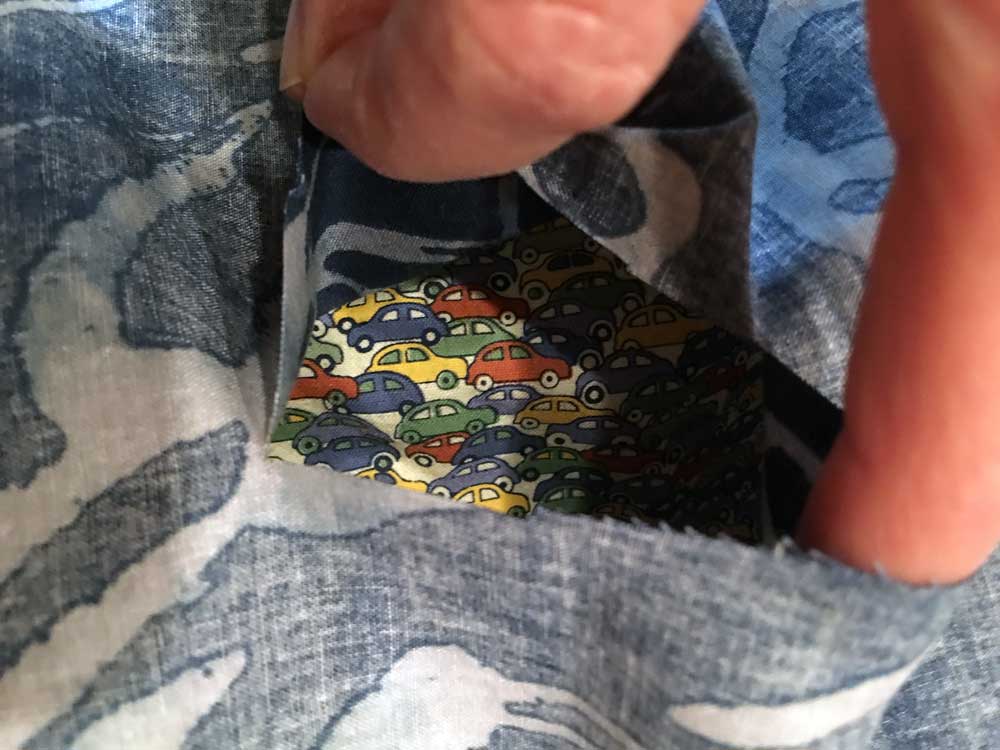
Above, a small slit is necessary to enable the pillowcase turn method. My fabric label, shown at the bottom of this post, is fused on after turning and hides the slit.
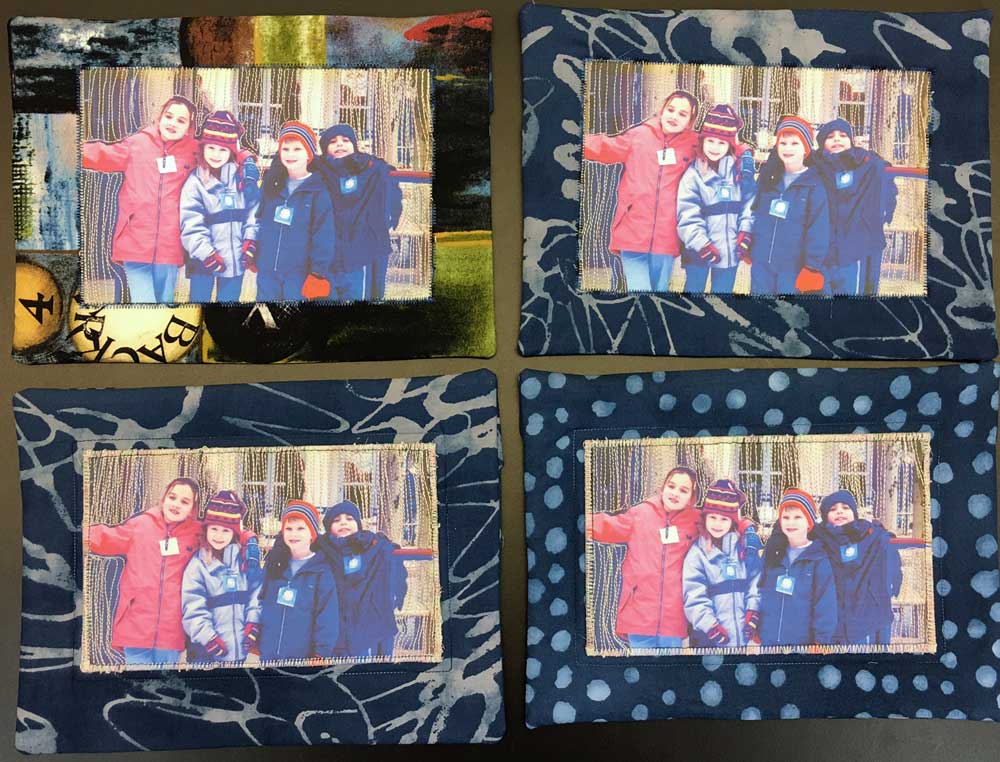
For some of the quiltlets, I used a satin-stitch around the photo (above)...
...for others, just a simple zig zag finish.
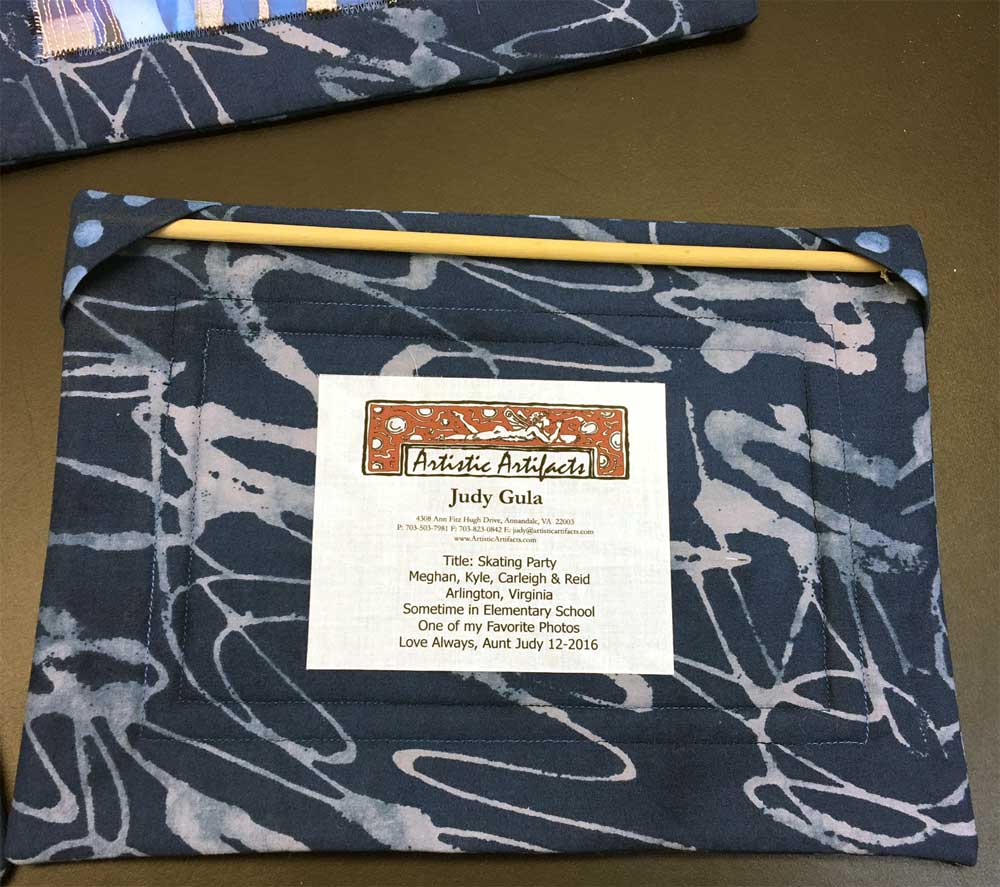
I wanted to make it easy on the recipients to be able to hang these up for display, so I added triangle pockets to the back, which hold a lightweight dowel. As these are small and lightweight, they really can hang with just a pushpin! There are a lot of tutorials out there on this easy process — try this one.
I loved popping these in the mail this past holiday season and imagining the smiles as they were unwrapped — grab a favorite photo of your own and turn it into an art quilt, for yourself or for others to display.
 Email Judy Gula or learn more about contacting Artistic Artifacts.
Artistic Artifacts has been selected by Feedspot as one of the Top 100 Quilting Blogs!
Categories
Popular posts

Leave a comment