Sewing Dresses for Children
Artistic Artifacts staffer Nancy McCarthy continues her sewing posts for us. She previously shared her experience with sewing the Urban Princess dress by Olive Ann Designs; here are additional sweet dress patterns from the same company. -- Judy
Guest post by Nancy McCarthy
Geo Dress/Tunic & Leggings
 I’ve sewn three different Olive Ann Designs little girls’ patterns at this point, each one twice, and the Geo Dress, Tunic & Leggings is the easiest, most straightforward one so far. It would be great for anyone looking for a quick make and especially for someone less confident about their garment making skills. And it’s super cute with lots of design possibilities!
The pattern comes in sizes 2- 8 and the photos show my just-turned-four year old granddaughter wearing a size four. The gold and coral shop sample is also a size four. The pattern can be sewn as either a dress or a tunic and includes a pattern for leggings, and as all the girls' Olive Ann patterns do, it also includes a version to dress an 18 inch doll.
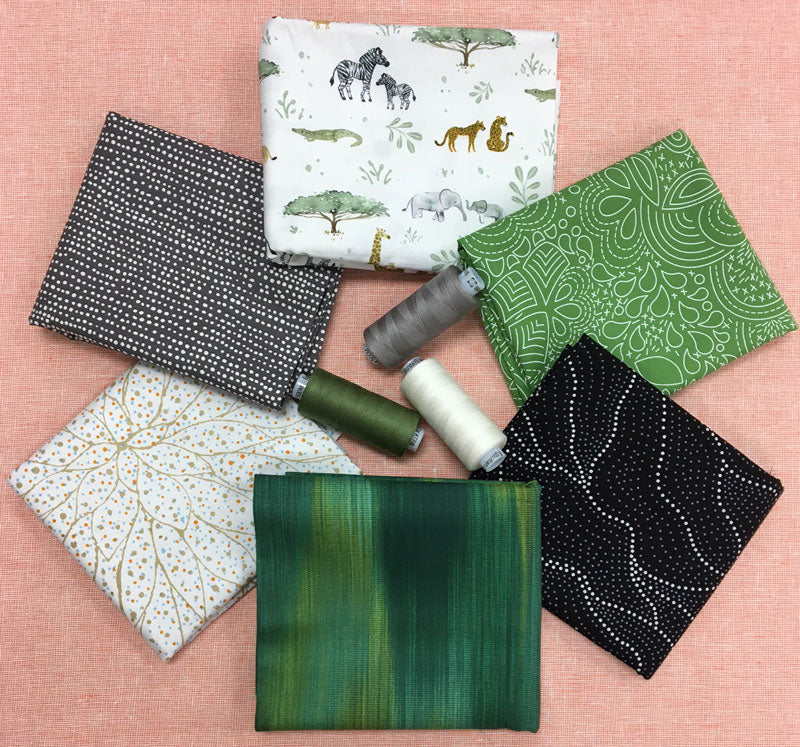
 The fabric choices for this dress are endless — it could be super fancy with lace panels or a school dress, as I imagined for my two examples. I chose whimsical prints kids will love and geometrics that I thought coordinated well (our Modern Cottons fabrics section has lots of amazing choices). I didn’t choose fabric from just one line, and in fact one of the fabrics I chose was a sale fabric. I used one of the Marcia Derse Palette Solidsfor the trim on the gold version, which includes four different fabrics. The green one has three fabrics including the trim and the Tula Pink Linework, Tent Stripe was perfect for that one. It reminded me that black and white prints are a sewist’s secret weapon. (I didn’t make the leggings from this pattern, but the instructions looked easy.)

Sewing notes: This pattern has 1/2 inch seam allowances! The front panels have bias edges and should be carefully cut on grain. In particular, the lower right panel will take more fabric than might first appear. I seem to choose directional prints without realizing it, so it’s a good thing the pattern layout is set up so that if you’re not focused on that, as I am often not, you won’t go wrong.
 The pattern calls for baby piping between the blocks of color. I decided to make flat flanges instead - MUCH easier to handle! I cut 1-1/4 inch STRAIGHT grain strips because the seams of the color blocks are bias seams. I folded the strips in half with a hard press and sandwiched the edges of the strip at the cut edges and between the wrong sides of the garment pieces. The flanges show 1/8 inch on the outside of the garment when the seam is completed, similar to the width of baby piping. I serged the finished seams and pressed them in the direction the flange wanted to lay.
Follow the pattern instructions to stitch the shoulder seams, install the facings and pull the front and back right side out through the facings, and THEN sew the side seams — this is a brilliant way to get a great finish and the pattern instructions are spot on. If this is your first time to use this method, it may seem a bit tricky, but trust me, it works!
You’ll need to make a loop of some sort to fasten the top back with a small button. The pattern calls for a tiny bias fabric loop, and quite frankly, I hate making those! So I tried an old-fashioned crochet thread loop, but it didn’t seem robust enough. Then I remembered how the loop on a dress-up costume of my granddaughter’s was done — a narrow elastic loop. But currently I'm not home in my own sewing space with access to my stash, and I didn’t have the option to run to the store. Here’s the hack I used: the ear elastic from my used surgical mask! It’s plenty stretchy, flat and narrow, and EASY to pin in place and sew through — it worked like a charm! Give it a try and see what you think and give this little dress a try for some summer fun!
Gigi Dress

The GiGi Dress and Dolldress by Olive Ann Designs has what every girl wants — POCKETS! A super cute summer dress for any girl in sizes 2-8 (you see here a size 4 on a just-turned-four-year old). This dress has two surprises — first, the great pockets in both side seams and second, a breezy pleated open back tied with a sash, so it's not too bare.
Fabric options listed on the pattern include double gauze and lawn. This version is in Kokka Blue Birds Double Gauze, found in the Fabrics for Garments section at Artistic Artifacts (more about sewing with this fabric later). Artistic Artifacts also has some charming lawn fabrics with prints very reminiscent of Liberty designs, and of course any of the quilting cottons would be appropriate. It would be great in a kid print and stunning in a wild Kaffe Fassett floral!

Sewing notes: Intermediate sewers should not find this pattern too challenging. I am one of those sewers who likes to preserve my pattern so I can make it again and again as my four granddaughters grow. So I fold back the larger size cutting lines or cut out the size I want by running my scissors under the paper pattern. Yes, I always cut garments with scissors — that's the way I learned! On this pattern I got confused when I couldn’t find the pattern markings for the back panel pleats. I eventually realized that the size adjustment for the back panel changed at BOTH the top and bottom of the panel, and I had just folded away, or would have cut away, the pleat markings.
The bodice has a full facing that goes down below the amscye* and in back extends to the depth of the back pleat facing. You attach the facing by sewing up the back, around the front neck, and back all the way to the bottom of the pleat facing. This is a bit acrobatic but it can be done! If it doesn’t make sense to you, just sew it as far around as you can and press in the the rest of the facing seam allowance at the pleat facing and slip stitch it in place.
* (Editors note: as per Wikipedia, “in sewing, the armscye is the armhole, the fabric edge to which the sleeve is sewn... the length of the armscye is the total length of this edge; the width is the distance across the hole at the widest point.”)
The instructions have you sew the side seams and then insert the short sleeves, the classic way to tackle this part of garment construction, and this was my biggest challenge because the armhole openings are quite small. I also wanted to serge those seams... argh! The second time I made this garment (using quilting cotton) I sewed the sleeves in flat and then sewed the side seams — much easier! I think if I made this a third time, I would make it sleeveless.
I chose double gauze for my fabric for a couple of reasons — first because Artistic Artifacts has some really nice pastels and second because I had never sewn with double gauze before. If it is a new fabric to you, consider washing it more aggressively than you think the final garment will be treated — it shrinks!
You may notice that it is actually two thin cotton gauze fabrics with a very fine binder thread that moves between the layers to hold them together so you might see the two separate layers of fabric at the cut edges of your pieces. The fabric is sort of ‘sponge-y’ and really different from quilting cotton.
I used my favorite BERNINA 34D foot with the dual feed engaged. I like the 34D because it is clear, so I can see everything. As in other Olive Ann patterns, the seam allowance is 1/2 inch. I topstitched the neckline and the sashes at 1/4 inch. Using the 34D allows me to choose between using the throat plate markings to determine my seam allowance or moving the needle right or left and sewing with the edge of my fabric at the edge of the foot. Setting the needle at 4 clicks to the right gives me a nice robust 1/4 inch, or at 5 a scant 1/4 inch, for example. Setting my needle to the left a couple of clicks can give me the 1/2 inch seam. (A walking foot is also an option for these double gauze fabrics.)
I hope this post encourages you to surprise the special little girls in your life with one or both of these up-to-the-minute spring and summer looks!


Leave a comment