

Making Fabric Postcards: Want to Trade?
Making Fabric Postcards: Want to Trade?
Making Fabric Postcards: Want to Trade?
Updated July 9, 2020: Since originally writing this post, I’ve responded to a number of requests by filming a quick tutorial for you! Please take a look and read through my steps below — you’ll see this is an easy, fun fiber project that spreads some joy into the world!
I love to make fabric postcards... and not just make, but to use and mail. Watch my recent Creative Clip for my challenge to anyone interested in a fabric postcard trade!

Some of us only get small moments in time to play with our fabric. I am one of those people. Because of that time crunch, I have developed a system to keep fabric postcards always in progress. When I get those small amounts of time, I can immediately get to work where I previously left off. And before I know it, I’ve produced 6-12 postcards at a time!
With the current global health crisis meaning that so many must stay home to safeguard their health, I’m stamping and addressing my postcards, in the hopes that they brighten someone’s day once found in their mailbox.
 In addition to fabric scraps, I use the following supplies when creating fabric postcards:
- Steam-A-Seam 2 (I prefer lite version) I like this fusible because it is sticky and allows me to lay small pieces/scraps of fabric and it holds them in place. If I want to move the fabric I can pull off and replace or move. I recommend you begin with a piece that is 12 in. x 18 in.
- Pellon Peltex 71F One-Sided Fusible — I keep the fusible side for the card stock to be applied.
- Non-stick craft sheet — such as a Goddess Sheet or the Bo-Nash Amazing Sheet. I use the largest size I have, so that it is both under and over my fusible
- Thread
- 4 in. x 6 in. index cards, or card stock cut to size
First, peel back one side the Steam-A-Seam 2 fusible. I don’t remove it all the way off — I peel it as I lay down fabrics scraps.
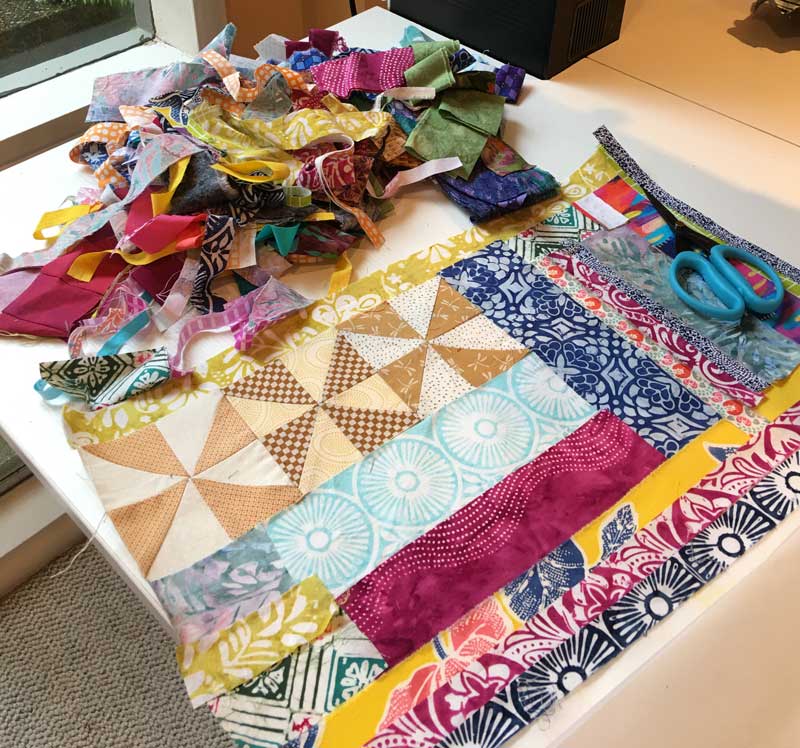
I apply a variety of fabric scraps, selvages, orphan blocks and more. I do like to use smaller pieces to create a collage look on the Steam-A-Seam. Fill up the sheet with your fabric scraps as seen here..
Next step is the iron the fabric to the Steam-A-Seam, using your non-stick/Teflon sheet to secure the fabric.
Then, using a piece of Pellon Peltex 71F One-Sided Fusible inthe same size as your sheet of Steam-A-Seam 2, peel the last paper off the fusible and fit it to the non-fusible size of the Peltex.
IMPORTANT: make sure that you have your non-stick Teflon sheet (if you don’t own one, substitute parchment paper) under the fusible side of the Peltex or it will stick to the ironing board... Ask me how I know!
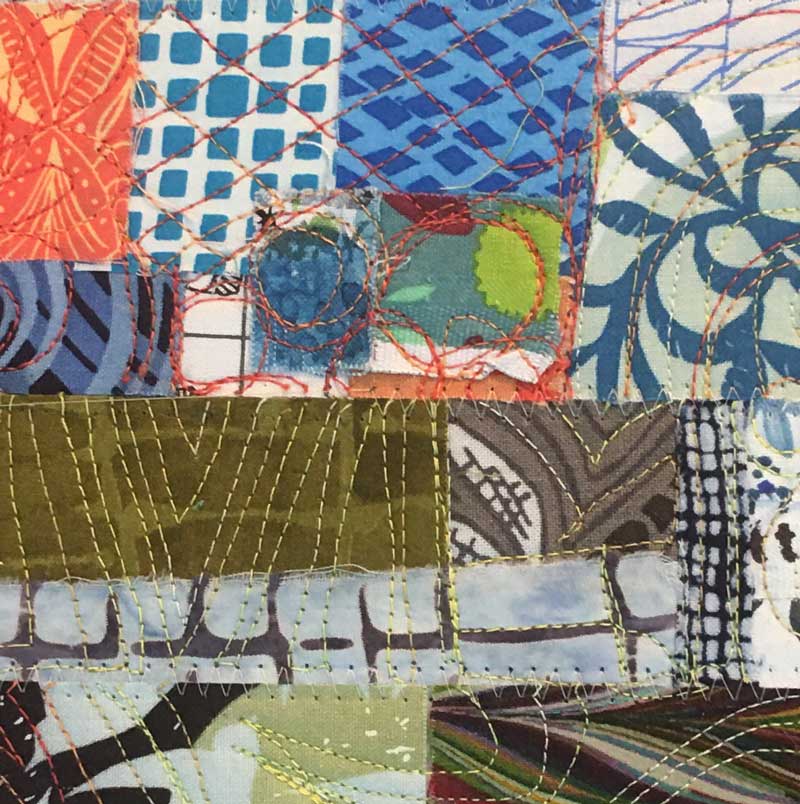
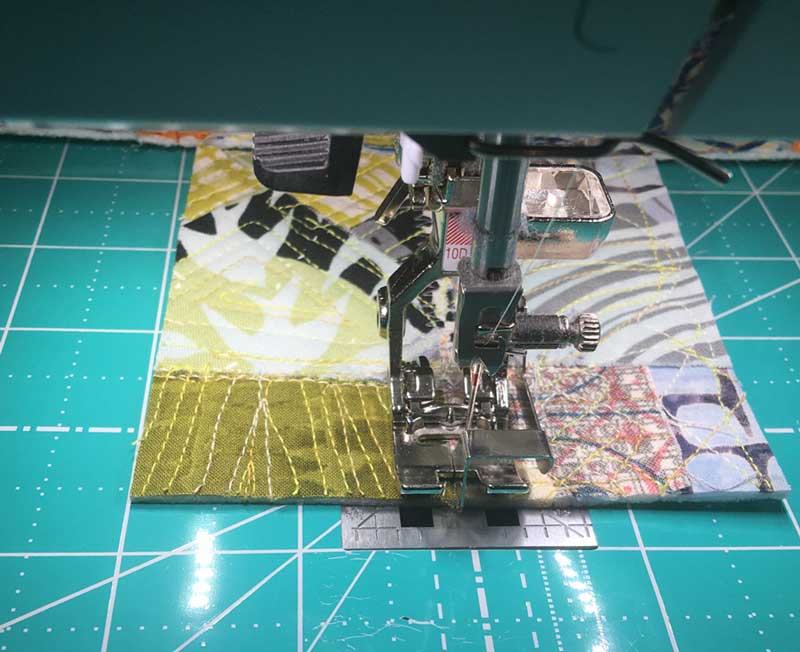
Once the fabric collage is fused to the Peltex, I then have some fun at my sewing machine. Free motion stitch the entire front of your fabric collage. Note that there is a tendency for the glue to come off on the needle; it is sticky. It hasn’t caused me problems, but next time I’m going to try the Schmetz Super Nonstick Needles.
I use this stitching time to test out new freemotion “patterns” or to practice them. I also often follow the pattern in the patterns in the fabric scraps. This is also a great time to test out any fancy stitches your machine might have programmed. Sometimes I use one color thread, sometimes multiple — and specialty threads can be fun to play with too!
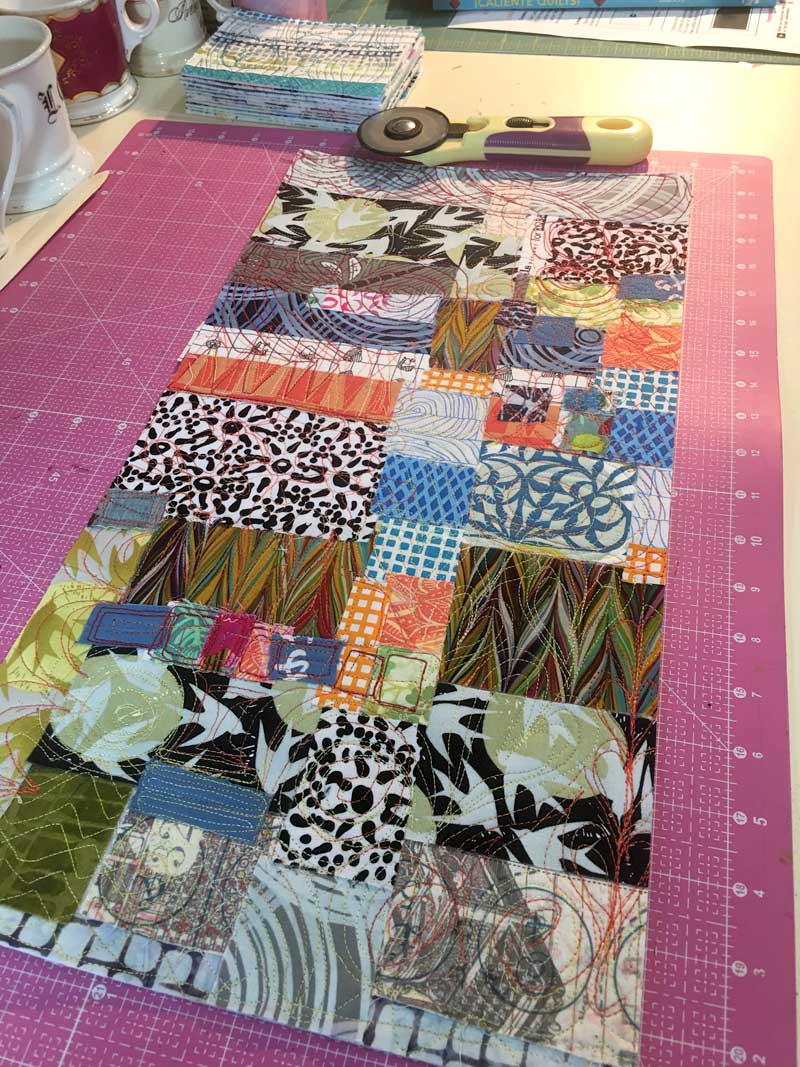
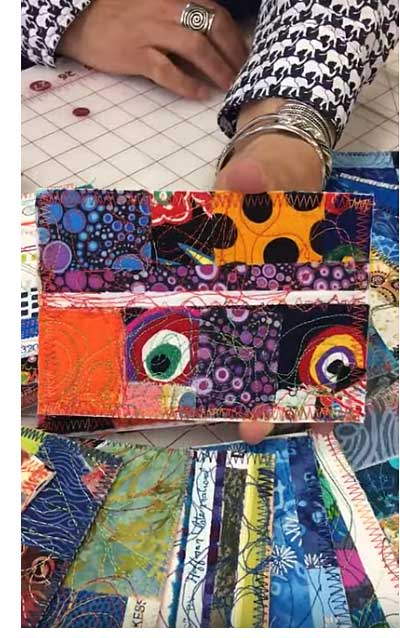
Once my sheet is completely free-motion stitched (above), I cut it into 4 in. x 6 in. pieces for the postcards. I then apply the 4 in. x 6 in. index cards (or card stock cut to size) to the back side.
Stitch an open zig zag stitch around the four sides of the postcard. Don’t make the zig zag stitch too close, or you’ll perforate the card stock to the point that the edge could detach or pull off.

If you have a postcard stamp, use it to dress up your back. If you don’t, simply write POSTCARD on the center top of the card. Write your recipients address and add a stamp on the right side of the postcard. First class postage is all you need! Then write your message on the left and drop it into the mail.
I’d love to trade postcards with you — watch my latest Creative Clip for my challenge!


Thank you for sharing. I have all the things I need to make a postcard.
Leave a comment