

Block Printed Ornaments Featuring Terial Magic
Block Printed Ornaments Featuring Terial Magic
Block Printed Ornaments Featuring Terial Magic
 No matter how busy the holiday rush is, I want to handcraft at least one gift or ornament each year. But because of that very same holiday rush this year, I wanted a project that could be done quickly and easily!
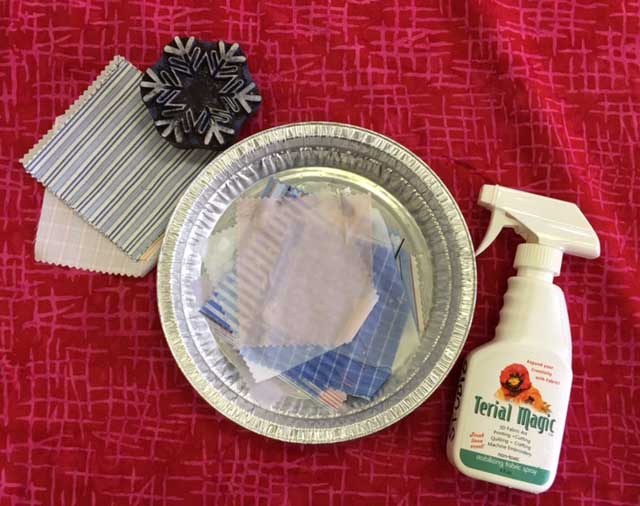
I created these ornaments using Terial Magic™ (a fabric stabilizing spray), an assortment of our wooden printing blocks, WB171 Snowflake, WB393 Snowflake and WB394 Snowflake; Opaque Textile Paint by Artistic Artifacts, various shirting scraps and WonderFil Dazzle thread.
No matter how busy the holiday rush is, I want to handcraft at least one gift or ornament each year. But because of that very same holiday rush this year, I wanted a project that could be done quickly and easily!
I created these ornaments using Terial Magic™ (a fabric stabilizing spray), an assortment of our wooden printing blocks, WB171 Snowflake, WB393 Snowflake and WB394 Snowflake; Opaque Textile Paint by Artistic Artifacts, various shirting scraps and WonderFil Dazzle thread.
 I trimmed the shirting fabric to the size of the wooden printing block plus ½” each side. After trimming, the fabric was treated with Terial Magic. The simple steps to use Terial Magic are 1) Spray to saturate (photo below), 2) Dry until damp and 3) Iron to set. (Last summer we wrote a review of Terial Magic and included complete details about how to apply it and its many uses: a useful and versatile product!)
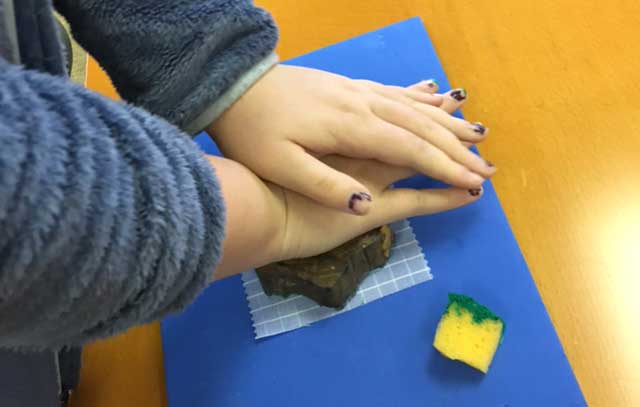
 Once the treated fabric was dried and ironed, we stamped using the snowflake wooden printing block and one color of paint. I’ve provided many block printing tutorials in the past, but as always I want to emphasize the importance of using a dense foam printing mat under your fabric to achieve the best results. Each ornament requires four snowflake stamped fabric pieces.
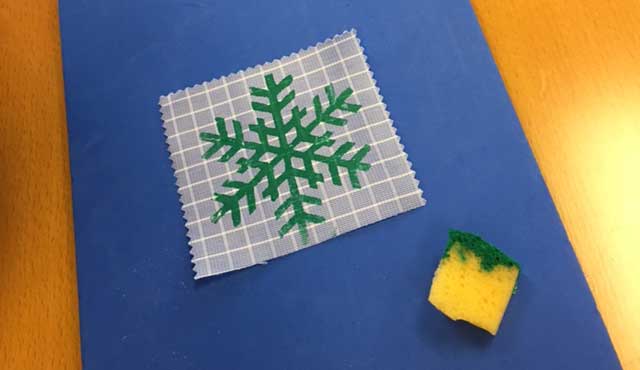 After the paint has dried the fabric is ironed and trimmed closer to the shape of the snowflake pattern (photo below). The snowflake prints, now cut out, are stacked with snowflake print up and then alternate snowflake print down, snowflake up, snowflake down.
 Sew a straight stitch down the center line of your neat stack, which holds all the snowflakes together.
For a bit of festive sparkle, I cut a piece of Dazzle Thread by WonderFil to use for the loop to hang the ornament, zig-zag stitching to hold it in place (photo below).
Sew a straight stitch down the center line of your neat stack, which holds all the snowflakes together.
For a bit of festive sparkle, I cut a piece of Dazzle Thread by WonderFil to use for the loop to hang the ornament, zig-zag stitching to hold it in place (photo below).
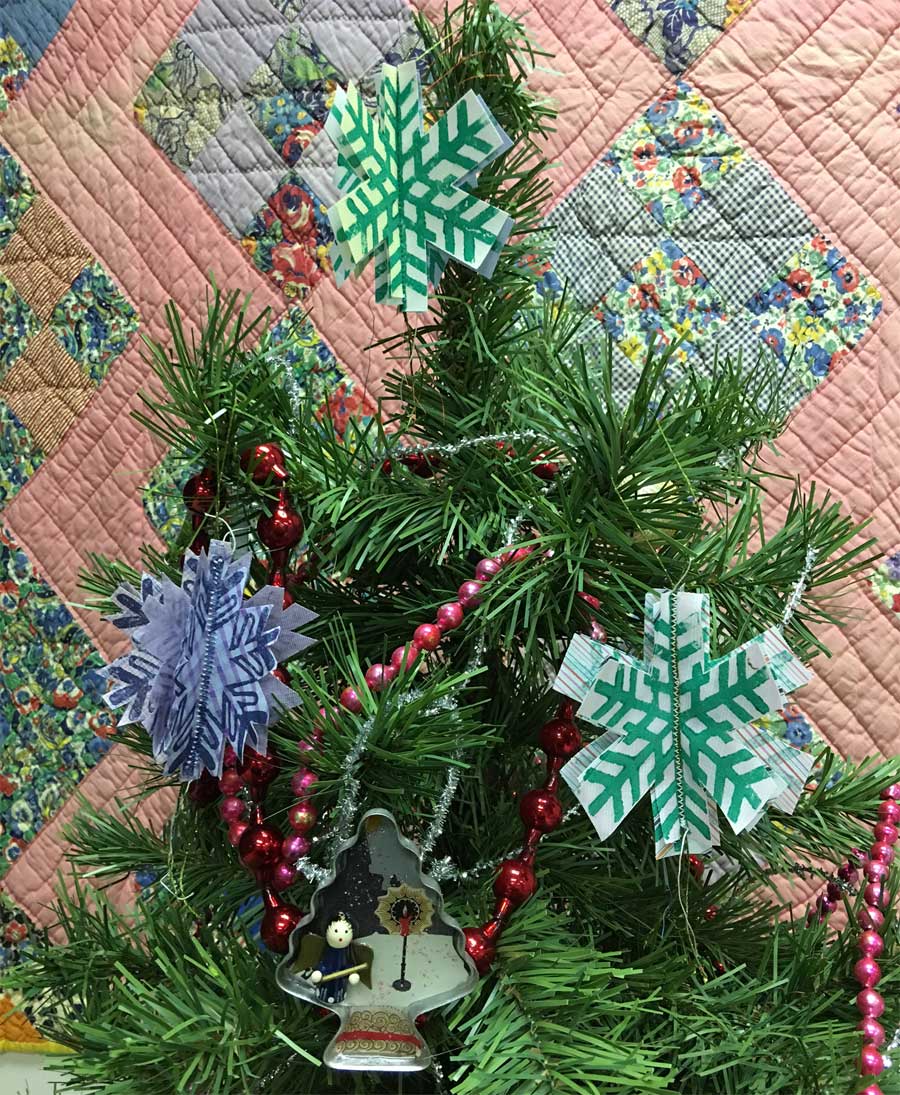
 Finger press your fabric sections open, and there you have it! My finished ornaments are pictured at the top of this post...you can also see a resin cookie cutter ornament created by my niece in a recent class held here at the shop by Leslie Brier.
P.S. We are making progress getting the wide assortment of WonderFil threads up on our website — keep checking in with us! The Threaducation Center is your place to interact with like minded people, develop new friendships and be inspired! Schedule your next fiber arts group activity with us at the Center today!
Finger press your fabric sections open, and there you have it! My finished ornaments are pictured at the top of this post...you can also see a resin cookie cutter ornament created by my niece in a recent class held here at the shop by Leslie Brier.
P.S. We are making progress getting the wide assortment of WonderFil threads up on our website — keep checking in with us! The Threaducation Center is your place to interact with like minded people, develop new friendships and be inspired! Schedule your next fiber arts group activity with us at the Center today!
Post Tags:
Terial Magic
 Email Judy Gula or learn more about contacting Artistic Artifacts.
Artistic Artifacts has been selected by Feedspot as one of the Top 100 Quilting Blogs!
Categories
Popular posts

Leave a comment