

Transforming Chipboard Shapes
Transforming Chipboard Shapes
Transforming Chipboard Shapes
Chipboard does for shapes what particle board did for furniture. The options are limitless. Chipboard is a lamination of layers of paper pulp — it comes in many thicknesses, shapes and sizes. Our most recent session of our How Do I...? monthly demonstrations was on the versatility of chipboard; we used both commercial shapes as well as cutting into large sheets of thin utility chipboard in our experiments.
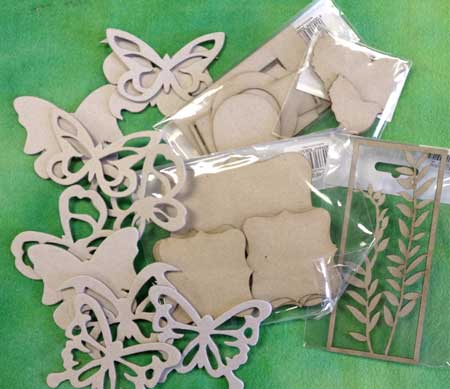
We carry some great chipboard shapes and embellishments, but otherwise, the most common place to find chipboard is in the scrapbooking aisle of your local craft store. A simple material, but what you can do with chipboard is anything but ordinary!
This blog posting will touch on just a couple of techniques — know that this is only the tip of the iceberg! We used fabric, washi tape, embossing powders and VIVA products (Inka Gold, Ferro Special Effects Paste, Croco Crackle Paint, Precious Metal Colour) to alter our chipboard.
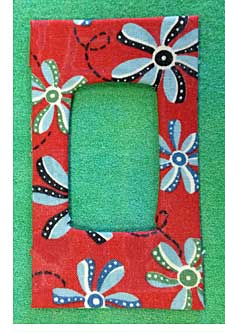
The only tricky option is applying fabric to the chipboard. I ironed fusible web to the back of the fabric and then made my cuts into the fabric (similar to wrapping a package) to cover the frame and fused with an iron in place. Another option is to apply a thick glue like Aleene’s Original Tacky Glue to the chipboard and then wrap the fabric smoothly on the top and around the edges.
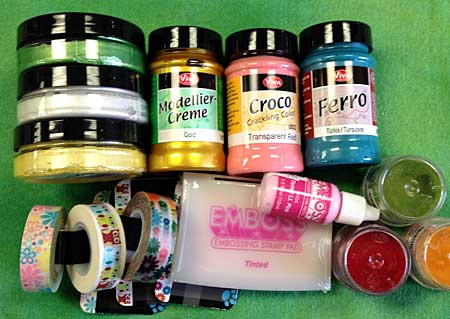
Washi tape is one of the simplest ways to add interest to any paper (or other) project. Mixing different strips to a chipboard frame that still has its center in place is a fun twist: then simply run your craft blade around to cut the tape and pop the center out. Replace it in a different orientation, or use the center shape separately.
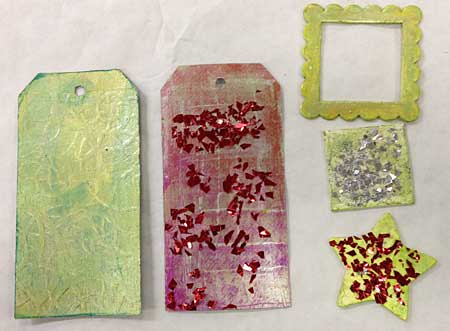
Embossing Powder is really magic! Using a stamp paid with “embossing” glue I stamped the glue onto my precut chipboard frame. Working on a sheet of deli paper, I sprinkled Tim Holtz Distress Embossing Powder in the gorgeous Peeled Paint shade of green.
Working on deli paper, it’s easy to pour the unused granules of powder back into the jar. I moved my heat tool over the embossing powder until it melted and fused, creating a unique surface. Tim’s Distress powder is formulated to giveyou a worn , weathered finish, as you can see with my tag above.
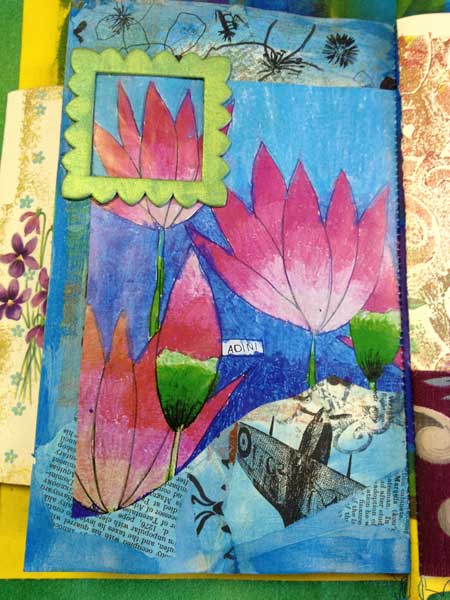
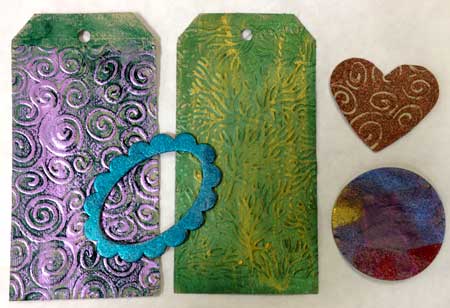
Metallic embossing powders will ‘wow’ you when the heat is applied. They sprinkle on looking rather flat and dull, but after a few seconds turn to looking like molten metal! You can see an example with my journal page below with the gold frame. I love creating a “peek a boo” element by framing a cutout on one page to look through to the next (see below and inset detail).
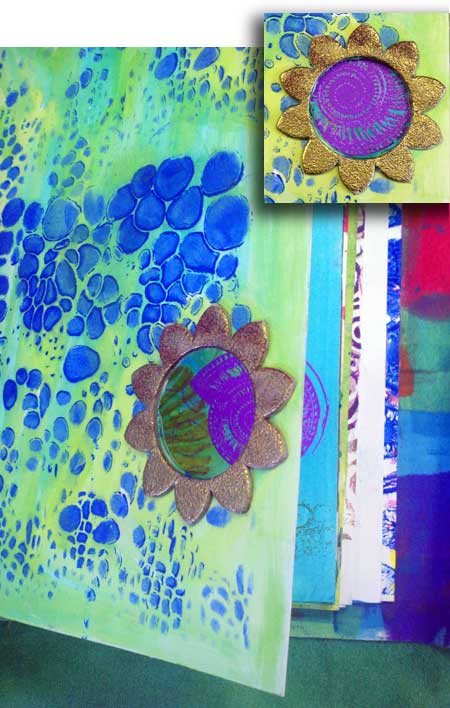
The journal pages you see here are from “How Do I Use This?” Meets the Art Journal Page, a fun class I’m teaching on April 23-24 where students create original and layered journal pages and bind them into a custom art journal...all supplies provided!
Any paint or texture medium can be applied with a brush or spatula to the chipboard.
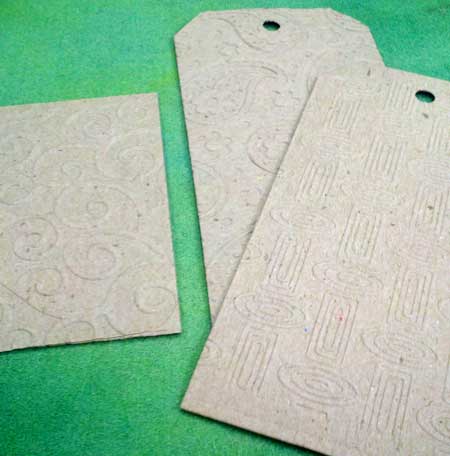
Our hands down favorite surface finish for chipboard was to use a die-cutter or paper punches to create shapes, then texturizing the shapes by running them through the diecutting/embossing machine with different embossing folders. The created texture comes alive with paints and Inka gold.
Just a tiny amount of Inka Gold is all that’s needed, applied with a fingertip, baby wipe or paper towel.
The Box Challenge

Most of you know the story about the building that now houses Artistic Artifacts. In its former life housing high-performance auto parts, we had a huge display wall with dimensional wood box frames that showed off product. During a recent warehouse cleaning, I uncovered a box full of these frames, most approximately 5x5 inch square (as pictured) I offered these up to Barb Boatman of Cut Sew Create studio, a dear friend and JAMs member, to come up with a project.
Barb challenged members of JAMs to use these surfaces to create small artworks that incorporated products from Artistic Artifacts that they had in their stashes that could then be used in the shop and at events as samples.
The big reveal of the boxes was this past Sunday at JAMs. We shared some photos on our Facebook page...you will certainly be seeing more of these in this space, as they were all so beautiful and are great examples of mixed media and fiber art techniques! Here are two that use chipboard.
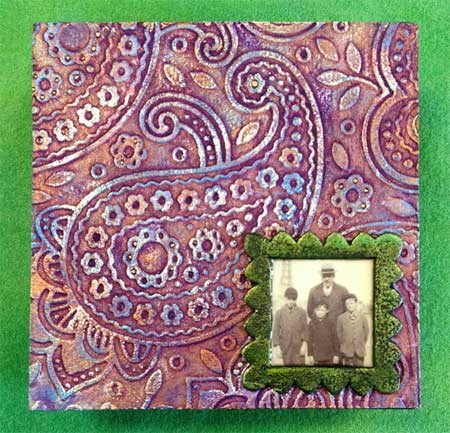
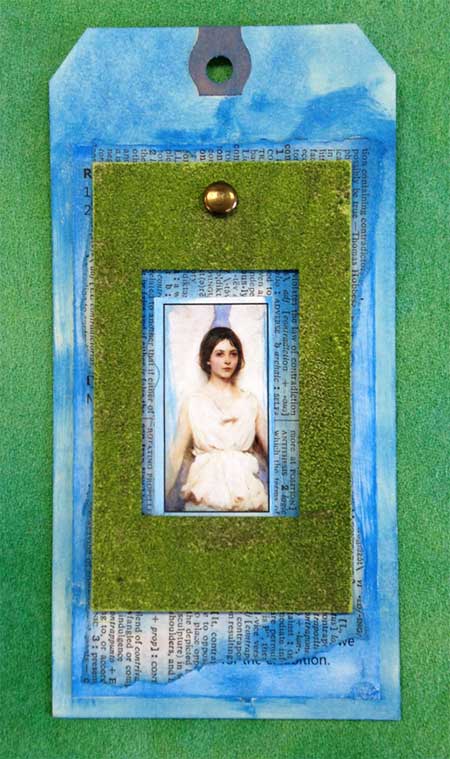
Coming off the How Do I... evening, Sharon McDonagh embossed a chipboard square and then used Inka Gold in blue, copper and violet colors to bring out the texture of the pattern, and green paint topped with a bit of Inka Gold on a chipboard frame with a vintage photo.
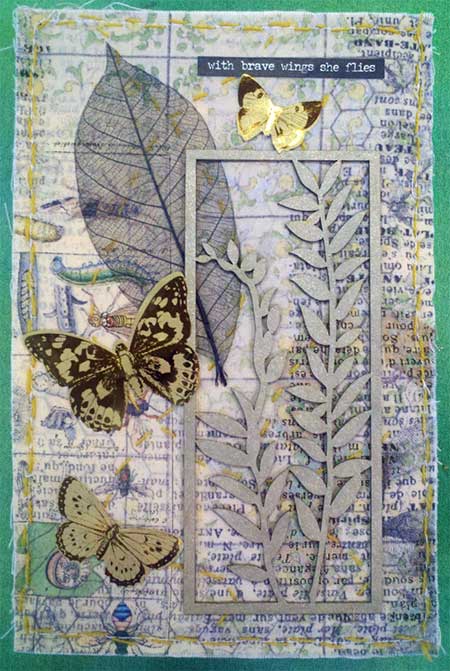
Below, Lindy Millman used the Leaf Stems chipboard frame, lightly sprayed with a gold metallic ink, on a base of Tim Holtz fabric and accented it with her own ephemera and a skeleton leaf.

Categories
Popular posts


Leave a comment