

Create a Felt Covered Journal
Create a Felt Covered Journal
Create a Felt Covered Journal
Natural fiber felts are perfect for needlefelting (by hand or machine), or as in the following example, a hand-stitched cover for a journal or a needlecase. As an artist who sold my artwork, I learned early in that you always make multiples of your project, and then add customization to make each piece of art one of a kind. In these photographs you will see that you can easily make four covers at one time, rather than one. A great process for making gifts!
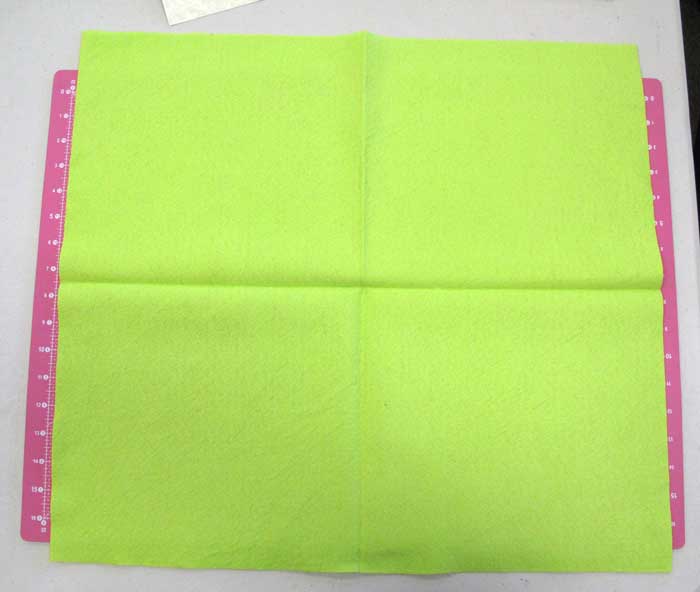
Artistic Artifacts used to stock XoticFelt, which came as a large 20" x 22" swatch. I folded it in half, ironed the fold line, folded it in half again and ironed that fold. This created easy to follow cutting lines to cut my four book covers. Because I used the entire piece, these covers measure 10" x 11". This is a bit unusual in size, but I didn’t waste any felt! You can choose to make your cover in any size you like.

The next step is to cut a backing for the felt. This surface will serve as your inside front and back cover. My favorite to use was Roc-lon Multi-Purpose Cloth™. Comparable to canvas, this 70% Polyester/30% cotton material is flexible, soft, prepared for painting and collaging. Cut the Multi-Purpose Cloth (or your desired material) the same size, or a “smidgen” smaller than the size of the felt.
You will also want to cut the papers, fabric, and cards to go on the inside of the book. You can cut all your paper for your page signatures the same size, or you can, like in my example, incorporate different sizes for interest.
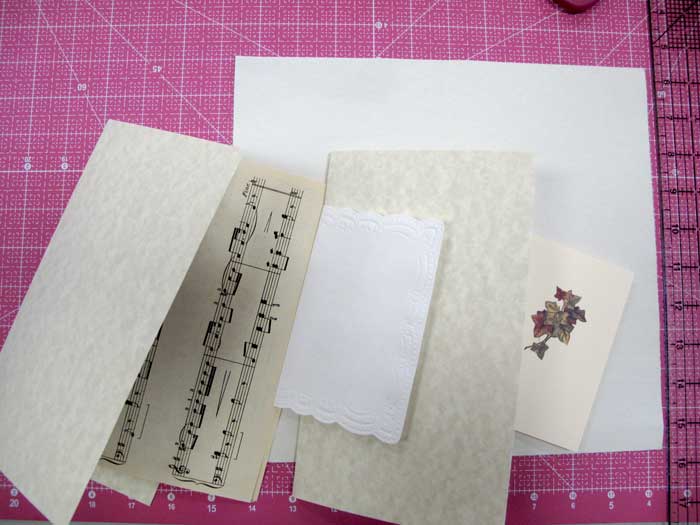
This is an ideal way to recycle junk mail, wrapping paper scraps, and more. You can also incorporate sheets of fabric into your pages — you can stitch inside your book, or pin or fuse items to the fabric. The sky’s the limit!
You now have three elements working: felt for the front cover, multi-purpose cloth for the inside cover, and your pages.

The Felt Cover:
Cut small pieces of contrasting felt to create a design, and hand-stitch with floss using straight or embroidery stitches, as in this example. You could also choose to machine stitch your cover. There are a huge number of online and YouTube resources for learning embroidery stitches, and Artistic Artifacts carries a number of crazy quilt and other stitch books. Once you finish all your stitching of your motifs, the felt cover will be fused to the multi-purpose cloth, which will give it some additional weight and stability.Inside Cover: Next is the multi-purpose cloth. You can leave this plain/white, or create some surface design with paint or inks.
I’ve used stencils and spray inks to quickly pattern the inside cover of the multi-purpose cloth.
When working with spray inks, make sure your work surface is well covered, or place your item in a box. In the photo examples here, I have used a red plastic tablecloth to protect the table surface, topping it with tissue paper.

I add the tissue paper because then it builds my stash — I can use any of the oversprayed tissue in other mixed media projects! Spray your first color of ink lightly through the stencil.
After I lifted the stencil off, I let it dry (spray inks dry quickly) and then continued the process, spraying all four of my multi-purpose covers at the same time, using different colors of ink. I also added a small stencil and used another color ink.

To continue, the non-sprayed or plain side of your multi-purpose cloth needs to have Mistyfuse applied to it. I’ve often mentioned using Mistyfuse in projects; you know I love it! But remember, it requires the use of a teflon or other non-stick craft sheet, or parchment paper, to cover the surface while ironing.
Once the Mistyfuse has been applied, all the pieces are ready:
- Outside Cover: the felt has a pattern and color stitched to the front
- Inside Cover: the multi-purpose cloth has color on one side (or was left plain) and Mistyfuse on the other side.
- Pages: Paper and fabric is assembled for the interior of the book.

Stitch the paper to the multipurpose cloth. I found the center by simply folding all the papers and fabrics. I also folded the multi-purpose cloth and lined everything up according to that fold and straight stitched down the center.
Set your sewing machine to sew a long, straight stitch — shorter stitches too close together can cause the paper to perforate and then fall out.
This is also a great place to use your favorite washi tape: apply the tape over the stitching!

Your last step is to fuse your stitched felt cover to the interior cover (multi-purpose cloth). Trim any edges, if needed, and enjoy your new journal!
I am linking to Nina-Marie's blog, Off the Wall Friday. This is new for me and very inspiring!
Categories
Popular posts


Leave a comment