Upcycling Canvas
As a fiber person, I am intimidated by a canvas. But admittedly, they can sometimes be a great addition to an art quilt. So take the leap with me and combine an art quilt and a canvas.
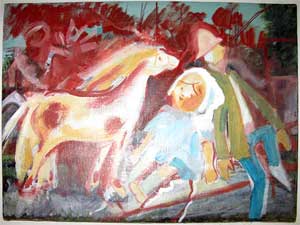
As normal procedure, I scavenge in thrift stores for raw material. The canvases you will find there, such as my example here, have already been painted — woo-hoo! Background colors already applied... I consider that step one in the project completed!
For my next step I use matte medium (I recommend Golden brand matte medium) to collage pieces of white tissue over the canvas. I don’t use one large piece, but rather ripped smaller pieces, as well as using ripped pieces of book text, dictionary pages, etc. I think of this step as the equivalent of using gesso to tone the colors of paint on a canvas.
Side note: do you have a difficult time getting the lid off your matte medium jar after it’s been opened? I keep one of those non-slip rubber jar openers handy to help open glue bottles and matte medium. If that doesn’t work for you, try running the bottle at the lid under hot water; usually that will loosen it up enough to open with the rubber jar opener. Someone also told me that if you run Vaseline around the edge of the matte medium jar, then it is easier to open.
Okay, back to the canvas. I layer the text pieces and white tissue paper, and then begin to add color, texture and pattern: preprinted black and white tissue is always great. There’s also a red colored tissue and textured white paper from a specialty paper shop used on the canvas.
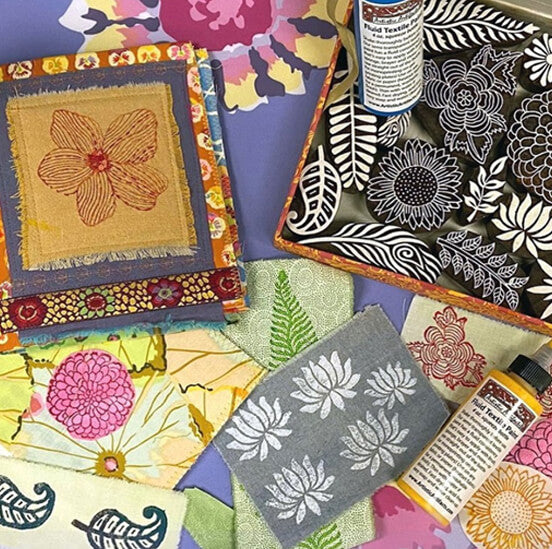
The blue paisley you see here is a wooden printing block stamped onto white tissue. I love to create my own patterned tissue paper with wooden printing blocks — anytime that I am working with wooden printing blocks I will create several sheets of custom tissue to keep in my stash for future use.
While the canvas is still wet with matte medium, I apply some paints, smearing and blending them on with my fingers, to add a bit of color. I used the Stewart Gill Colourise Color #CO30, Ochre Yellow, and then to add a bit of an iridescent highlight, Stewart Gill Alchemy Color #A06F White Hot.
Does this canvas bear any resemblance to how it started? Nope! Sometimes I just like to collage up the canvases without a particular project at hand; these predone backgrounds are great to have in your stash so that you can immediately begin working on your focal point.
Now to add fabric! I ripped pieces of Japanese Kasuri cotton (kasuri is a type of ikat design) and placed them behind the vintage paper cutouts. Using the fabric this way frames them and separates from the background so they have the desired prominence.
In the top example, I tried using a little less fabric, and in the bottom one, I tried using more. Which one do you like?


I recently finished another Japanese themed canvas/art quilt hybrid. This one, also built on a canvas collaged with a variety of ripped paper and burnished with paint, has handmade silk paper as the turquoise background. (Click here for my tutorial for creating your own silk paper.) A mini quilt in the checked Japanese fabric was created “pillowcase style,” then glued to the canvas. This was topped with a TAP transfer of the photo of the adorable Japanese children. The fringe was stitched to the mini quilt, and the other embellishments were attached with wire to the canvas. I simply punched small holes through the canvas, wired the item, and then ran that thin wire back through the canvas and secured it on the reverse.
A final word about this piece...it sat on my desk, half complete, for approximately one year! I really strugged with how to finish it off, but inspiration finally struck and now I’m thrilled with it. We all get caught up in wanting to finish a project, but if you aren’t feeling it, don’t rush the process. If it’s meant to be (some UFOs do stay UFOs, right?) the correct solution will eventually come and you will be glad you waited!





Leave a comment