Judy Gula, Fiber & Mixed Media Artist
Judy Gula, Fiber & Mixed Media Artist
Fiber and Mixed Media Art Supplies, Projects and Inspiration


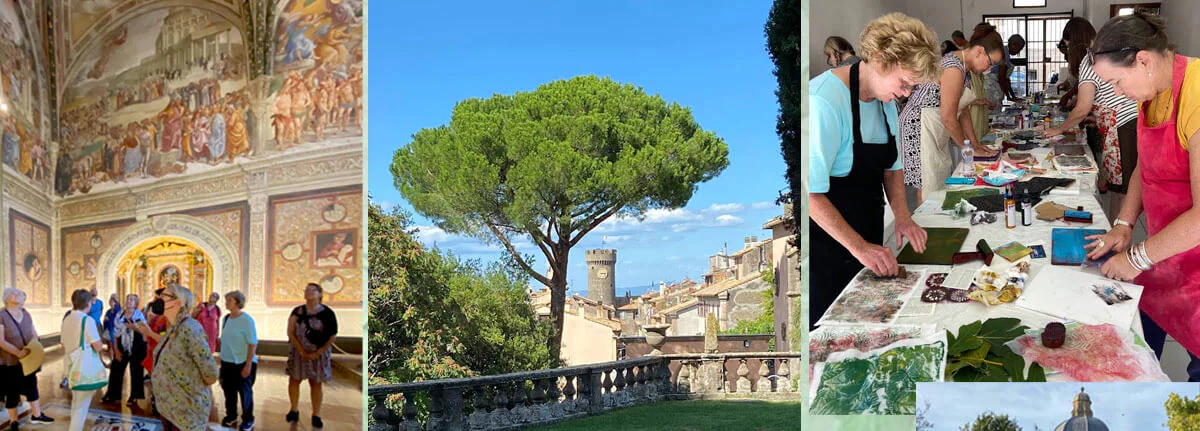
Explore the World with Judy!
During an Artistic Artifacts Travel Creative Retreat with Judy Gula, enjoy a vacation filled with art classes, tours, wonderful cuisine and more!